Ruger PR camouflage
- Harry
- 15. 5. 2018
- Minut čtení: 2
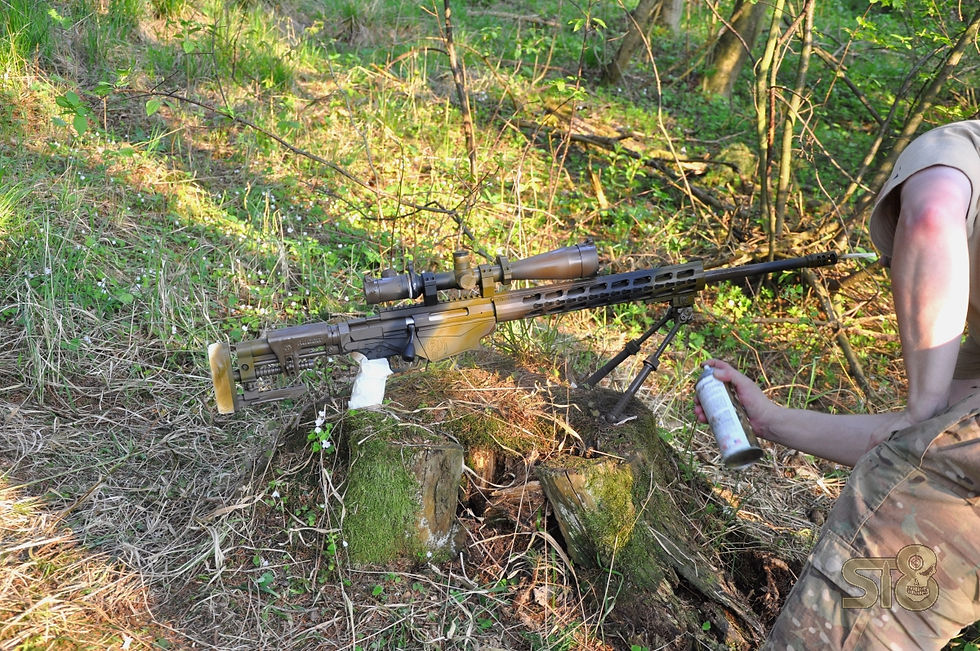
Because the tactical competition with camouflage part was ahead of us - Veronica decided that black would not be ideal for that purpose. So we went into the woods and made some changes. The spraying was done using camouflage paints from different manufacturers.

Initially we had to prepare properly. Above all a lot of preparatory work is needed on the optics. What we want to protect is for example optics controls...

Other than that it is also necessary to protect the barrel or trigger mechanism. I do not usually use spray paint on rubber parts (pistol grip, buttstock) because it does not hold on the rubber very well and then the clothes get dirty. We will not always shoot in the uniforms...

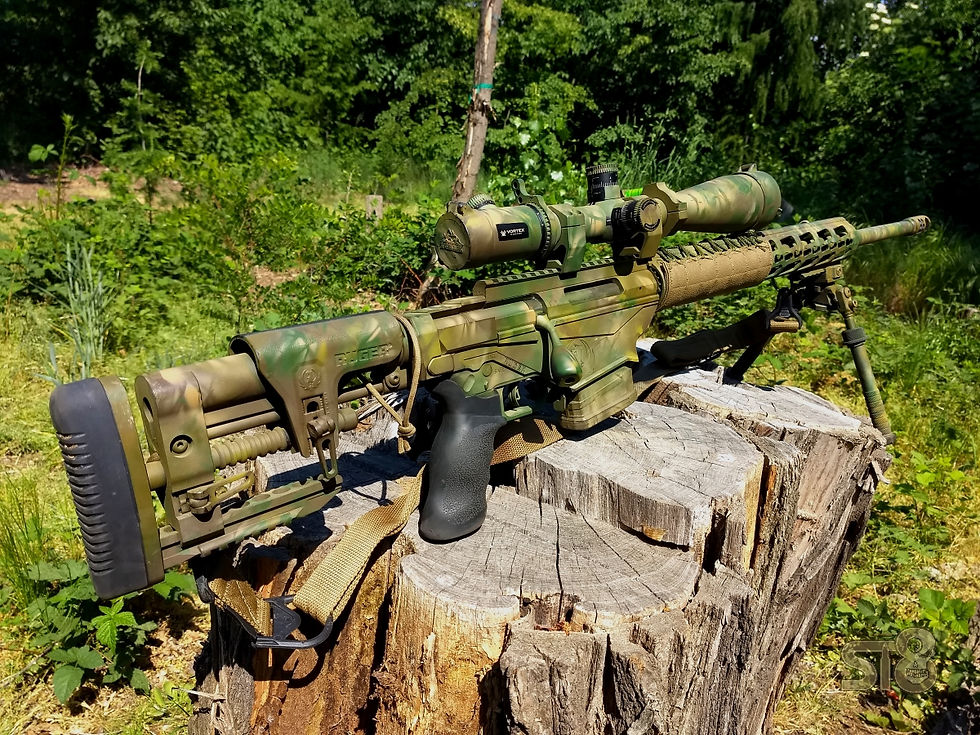
We have done the basics in three colors. Dark brown, light brown-green and green. In addition to camouflage the colors are also intended to protect the weapon from weather and corrosion so we want a solid layer as a base.

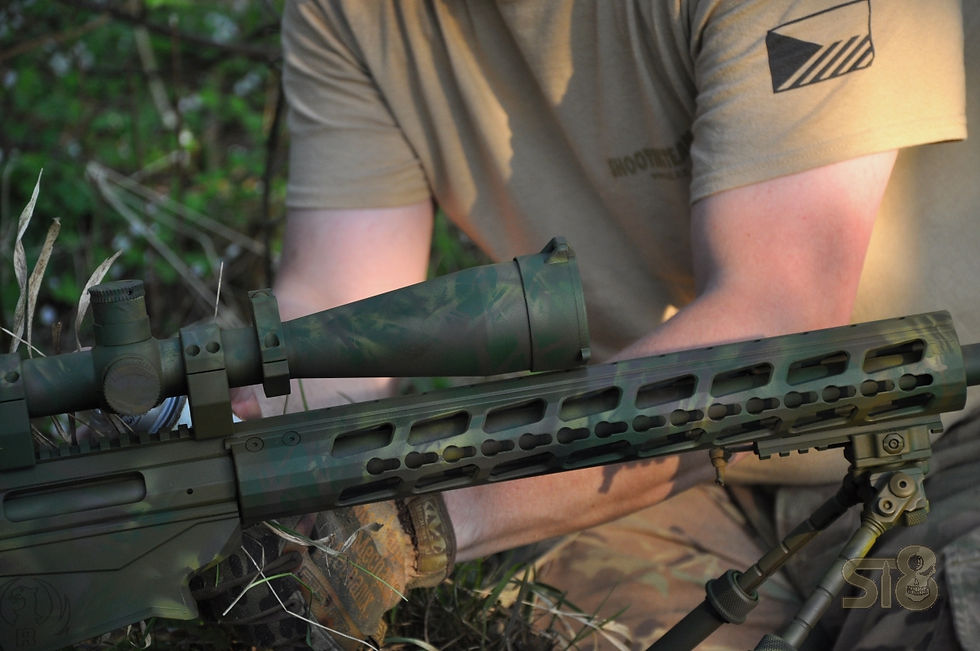
We also combine colors and spray them over a "template" from natural materials. Different leaves but mostly the grass. It's about breaking down shapes and silhouettes to get the most natural look. I use mostly a combination of 4-5 colors. If there is a premise that we will move even in an environment where there are shadows and illuminated places - we also use fairly bright colors...

For this rifle we chose a combination of colors mostly in green. For the other rifle we did we chose a brown and dry theme. But camouflage spraying is just the foundation. For real camouflage you need to add real vegetation. For this purpose I always have rubber bands in my pocket which I can put on the barrel or optics and use them to add some nature materials and vegetation to the weapon...

In the end however is something else far more important - training and skills. It's not that important to us how we look - but how we shoot...


